These images represent the total catalogue of color detail photographs of the fragments of the Gurob ship model plus high-resolution version of the satellite images and period plans of the site. The images are grouped by subject, indicated by the index on the left. To see the fragments in their presumed positions in the complete ship model (either as it was found or as we have reconstructed it), please refer to the different virtual reality models accessible from the menu. To view and zoom into the various contextural views of Gurob, please use the satellite image link.
You can view a high-resolution version of any image by clicking on the image. The new image will open in a separate window or tab.
* * * * * * * * Main Hull Pieces * * * * * * * *
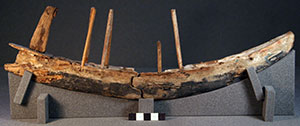
bow and stern sections reconstructed
port-side view (p.2)
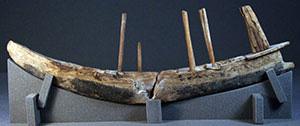
bow and stern sections reconstructed
starboard-side view (p.2)
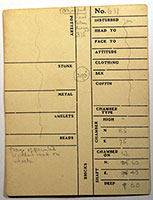
W. M. F. Petrie’s tomb registration card for Tomb 611 at Gurob (image courtesy of the Petrie Museum of Egyptian Archaeology; p.3)
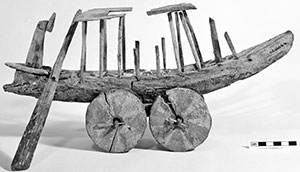
port-side view of the model
(Petrie Museum negatives no. 904; photo ourtesy Petrie Museum of Egyptian Archaeology; p.5)
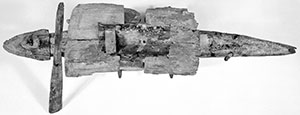
top view of the model
(Petrie Museum negatives no. 905; photo courtesy Petrie Museum of Egyptian Archaeology; p.5)
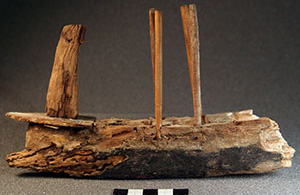
forward section of model
port view (p.6)
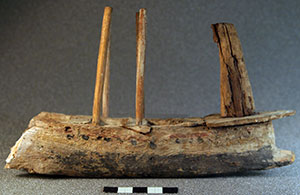
forward section of model
starboard view (p.6)
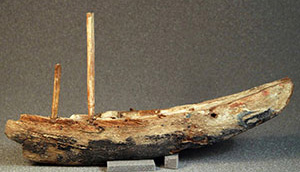
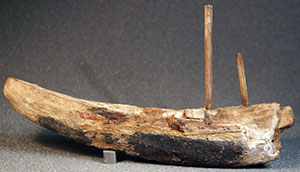
stern section of model
port view (p.8)
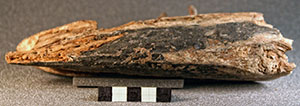
stern section of model
starboard view (p.8)
bottom view of model
forward section (p.10)
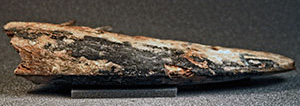
bottom view of model
stern section (p.10)

top view of model
forward section (p.13)

top view of model
stern section (p.13)
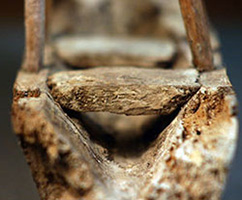
view of the V-section of the hull with thwart in the model's forward section viewed from the break (p.14)
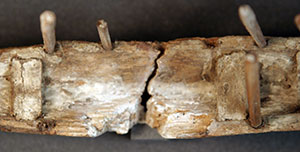
top view amidships at break
(port side at top)
missing gesso on the inner sides of the hull here suggests the existence of a now missing element, perhaps a maststep (p.17)
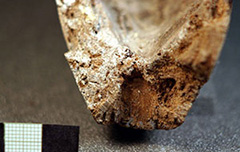
sectional view of the stern section break amidships, showing part of a hole for a peg that would have supported the model
traces of blue paint remain at the bottom of the hole
(seen clearly in the high-res image; p.14)
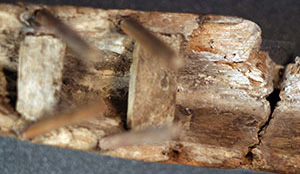
top view amidships section at break
(starboard side at top)
missing gesso on the inner sides of the hull here suggests the existence of a now missing element, perhaps a maststep (p.17)
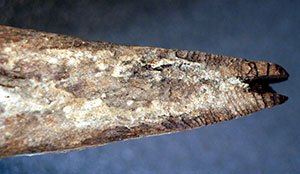
stop view of stern section
note notch and narrow spaces along the sheerstrakes and on the inner side of the hull where gesso is missing
(seen clearly in the high-res image; p.15)
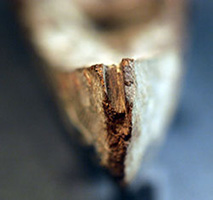
stern notch
view facing bow (p.15)
stanchion #15 set in notch demonstrating the likely angle [70o] of incline of a sternpost once placed in the notch (p.15)
* * * * * * * * Bow Extension * * * * * * * *
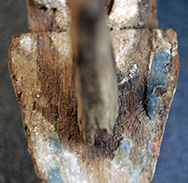
forecastle deck
top view facing stem (p.12)
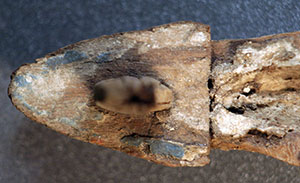
forecastle deck
top view (p.12)
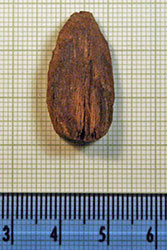
;
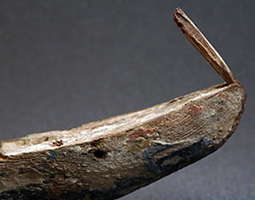
bird-head stempost ornament
detached vertical beak (p.11)
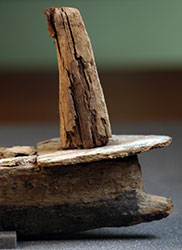
bow and forecastle
starboard view (p.12)
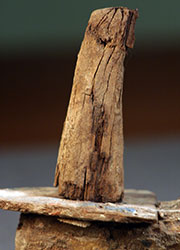
stempost
port-side view (p.11)
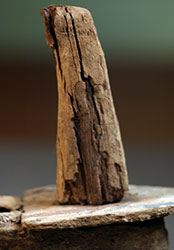
stempost
starboard-side view (p.11)
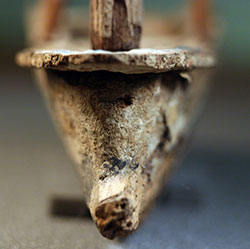
bow detail below forecastle deck
view facing bow (p.12)
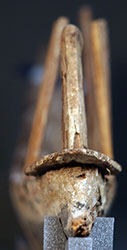
stem
view facing bow (p.11)
* * * * * * * * Wheels * * * * * * * *
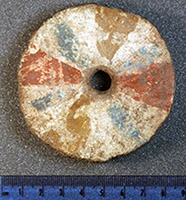
wheel #1 (item #27); outer side
reconstructed as forward port wheel (p.21)
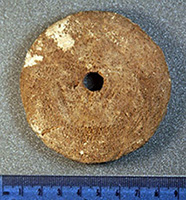
wheel #1 (item #27); inner side
reconstructed as forward port wheel (p.21)
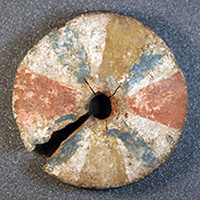
wheel #3 (item #29); outer side
reconstructed as stern port wheel (p.22)
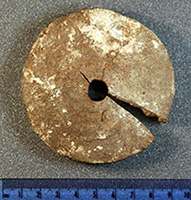
wheel #3 (item #29); inner side
reconstructed as stern port wheel (p.22)
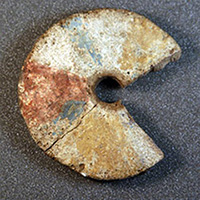
wheel #4 (item #30); outer side
reconstructed as forward starboard wheel (p.22)
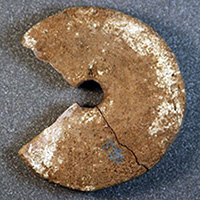
wheel #4 (item #30); inner side
reconstructed as forward starboard wheel (p.22)
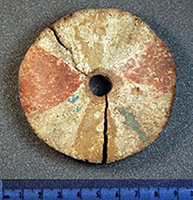
wheel #2 (item #28); outer side
reconstructed as stern starboard wheel (p.21)
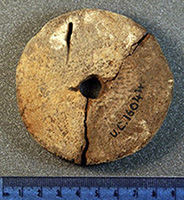
wheel #2 (item #28); inner side
reconstructed as stern starboard wheel (p.21)
* * * * * * * * Rudder, Oar, Stanchions * * * * * * * *

quarter rudder (item #17)
outer (visible) surface (p.18)
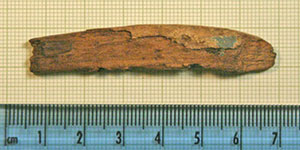
fragment of oarblade(?)
item #10, painted surface (p.31)

quarter rudder (item #17)
outer (visible) surface (p.18)
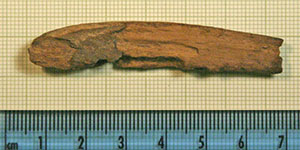
fragment of oarblade(?)
item #10, painted surface (p.31)
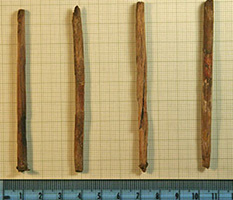
long loose pegs
(items #18-21; p.23)
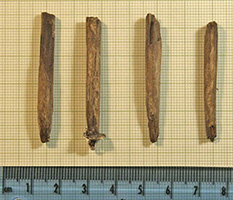
disconnected stanchions
(items #13-16; p.16)
* * * * * * * * Misc. Loose Pieces * * * * * * * *
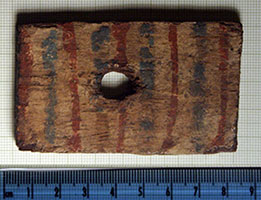
top, outer surface, of wooden rectangular block (pavois; item #1)
decorated with roughly parallel red and blue lines painted on a coating of gesso (p.20)
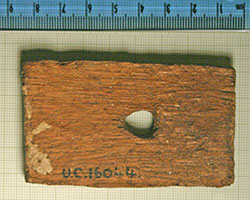
bottom, undecorated inner surface,
of wooden rectangular block
(pavois; item #1; p.20)
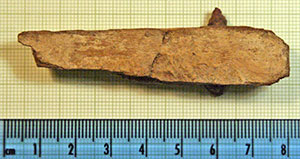
fragment with portion of a peg attached (item #2)
outer gesso-painted surface (p.29)
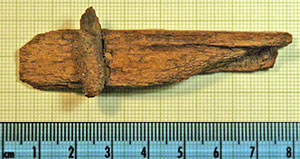
fragment with portion of a peg attached (item #2)
inner surface (p.29)
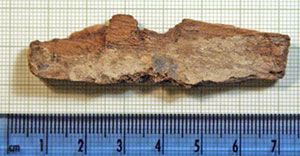
fragment (item #9)
outer surface with traces of blue paint (p.31)
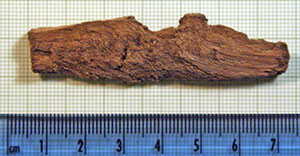
fragment (item #9)
inner surface (p.31)
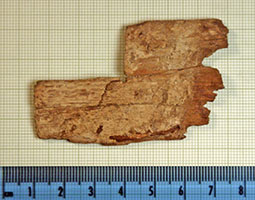
"awning" (item #25)
inner surface (p.24)
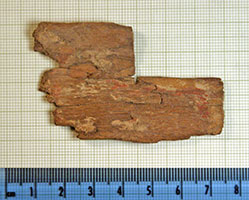
"awning" (item #25)
outer surface with traces of red paint (p.24)
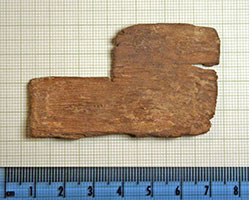
"awning" (item #24)
inner surface (p.24)
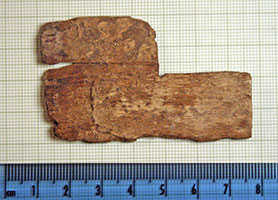
"awning" (item #24)
outer surface with traces of red paint (p.24)
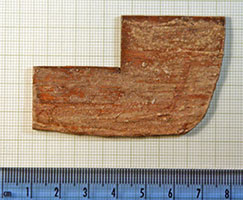
"awning" (item #23)
side 1 (p.24)
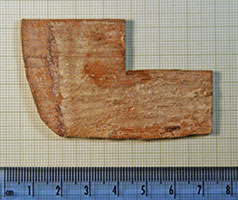
"awning" (item #23)
side 2 (p.24)
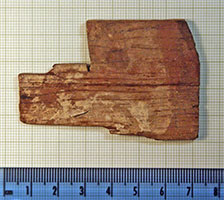
"awning" (item #22)
inner surface (p.24)
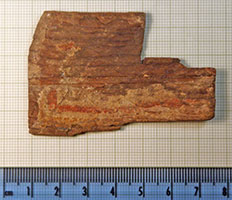
"awning" (item #22)
outer surface with traces of red and blue paint (p.24)
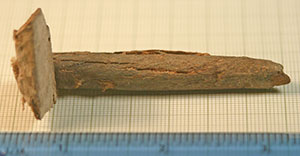
"quarter-rudder" stanchion now detached from ship and glued to a thwart
(item #26:A; p.19)
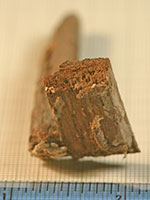
detail of thwart glued to the
"quarter-rudder" stanchion
(item #26:B; p.19)
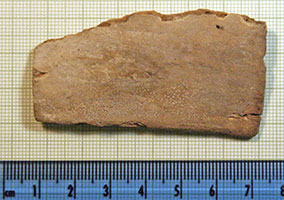
detached fragment (item #3)
side 1 (p.29)
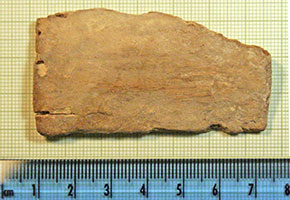
detached fragment (item #3)
side 2 (p.29)
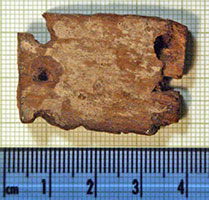
fragment with piercings (item #4)
side 1 with faint traces of red and blue paint (p.29)
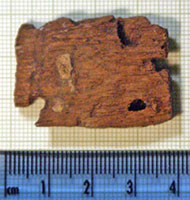
fragment with piercings (item #4)
side 2 (p.29)
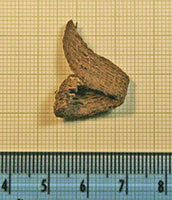
webbing (item #7; p.29)
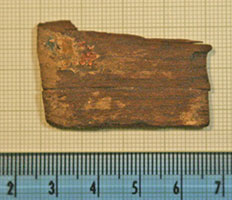
fragment (item #5)
outer surface with traces of red and blue paint (p.30)
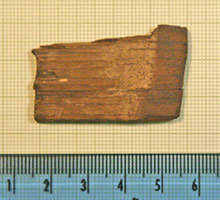
fragment (item #5)
inner surface (p.30)
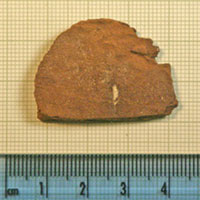
semicircular fragment (item #8)
side 1 (p.30)
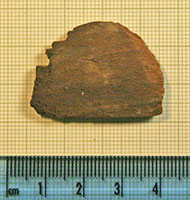
semicircular fragment (item #8)
side 2 (p.30)
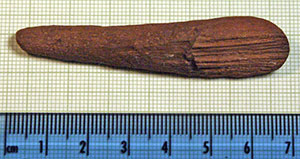
detached fragment (item #11)
side 1 (p.31)
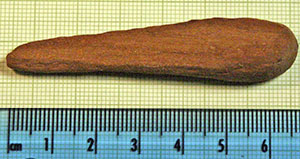
detached fragment (item #11)
side 2 (p.31)
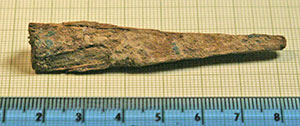
detached fragment (item #12)
outer surface with traces of blue paint (p.31)
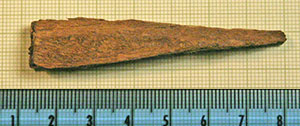
detached fragment (item #12)
inner surface (p.31)
* * * * * * * * Radiocarbon Analysis * * * * * * * *
Appendix 5: Radiocarbon age analysis of the Gurob ship-cart model, by Christine A. Prior
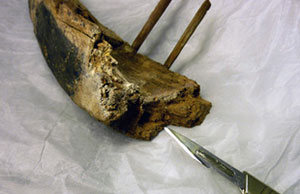
location of sample "ship 01" (p.240)
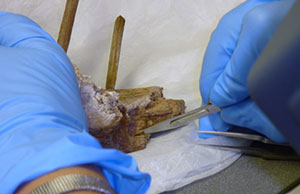
removing sample "ship 01" (p.240)
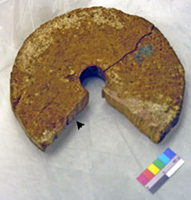
location of sample "wheel 01" (p.240)
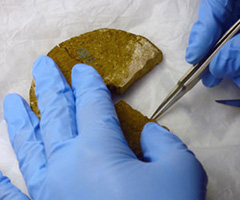
removing sample "wheel 01" (p.240)
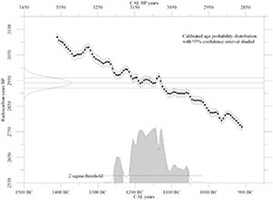
calibration of sample "ship 01"
courtesy of the Radiocarbon Lab, National Isotope Centre, GNS Science (p.241)
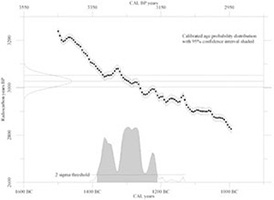
calibration of sample "wheel 01"
courtesy of the Radiocarbon Lab, National Isotope Centre, GNS Science (p.241)
* * * * * * * * Pigment Analysis Results * * * * * * * *
Appendix 6: Analysis of pigments from the Gurob ship-cart model, by Ruth Siddall
_wheel-pigment_TH.jpg)
Locations of paint samples collected from the wheel (p.244)
_hull-pigment_TH.jpg)
Location of paint sample collected from the hull (p.244)
%20(Color)_red-ochre_TH.jpg)
Red paint
red ocher, a quartz grain coated by very fine particles of hematite (PPL)
image taken at x1000 magnification
field of view is 20 μm (p.246)
(Color)_red-ochre_TH.jpg)
The same grain (as in the image to the left) under crossed-polars (p.246)
(Color)_black-paint_TH.jpg)
Black paint
dark brown particles of asphalt with quartz (colorless) in PPL
image taken at x400 magnification
field of view is 200 µm (p.246)
(Color)_blue-paint_TH.jpg)
Blue paint
particles of Egyptian blue (PPL)
image taken at x400 magnification
field of view 200 µm (p.246)
(Color)_yellow-paint_TH.jpg)
Yellow paint
organic direct dye composed of saffron; canal-like parenchyma cells are visible; to the left of the image is a contaminant grain of Egyptian blue
image taken at x400 magnification
field of view 200 µm (p.246)
(Color)_yellow-paint_TH.jpg)
Yellow paint
organic direct dye particle composed of saffron or a similar plant; canal-like parenchyma cells are visible
image taken at x400 magnification
field of view 100 µm (p.246)
* * * * * * * * Human Hair from Gurob Tombs 23-25 at Gurob * * * * * * * *

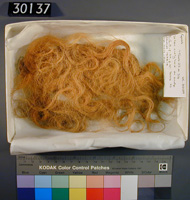
UC-30137
copyright of the Petrie Museum
of Egyptian Archaeology,UCL
(not in book)

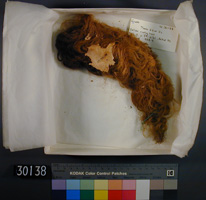
UC-30138
copyright of the Petrie Museum
of Egyptian Archaeology, UCL
(not in book)

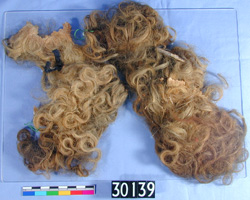
UC-30139
copyright of the Petrie Museum
of Egyptian Archaeology, UCL
(p.198)
* * * * * * * * Satellite Photos and Context Plans * * * * * * * *

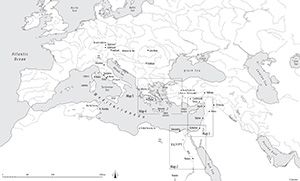
overview map
(courtesy of D. Davis; p.x-xi)

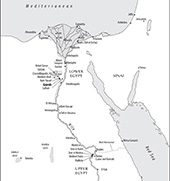
Egypt map
(courtesy of D. Davis; p.xii)

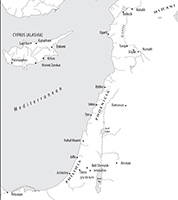
the Levant map
(courtesy of D. Davis; p.xiii)

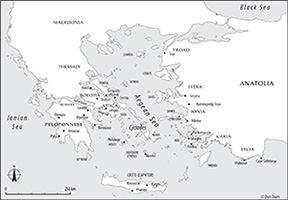
the Aegean map
(courtesy of D. Davis; p.xiv)

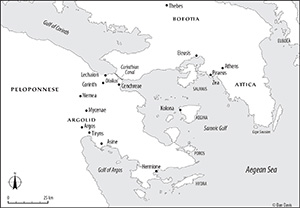
the Corinthiad map
(courtesy of D. Davis; p.xv)

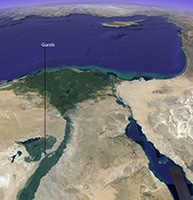
Slant satellite view of Gurob in its eastern Mediterranean context at the entrance to the Fayum
courtesy Google Earth (facing p.1)

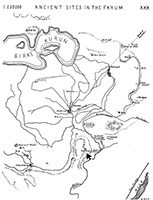
Petrie's sketch map of ancient sites in the Fayum including Gurob
Petrie, W. M. F., 1891. Il Lahun, Kahun and Gurob 1889-1890.
London: David Nutt, pl. XXX (p.168).

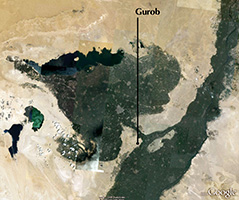
Satellite photo of the Fayum area
(2009 Cnes/Spot Image
image 2009 Digital Globe)
courtesy Google Earth (p.169)

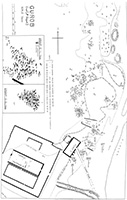
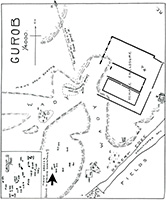
Brunton and Englebach's map of the area north of the harem of Mi-Wer
Brunton and Englebach, 1927. Gurob.
London. pl. I (p.170)

Brunton and Englebach's map of the area south of the harem of Mi-Wer, which includes the region of Tomb 611
Brunton and Englebach, 1927. Gurob.
London. pl. II:lower (p.171)

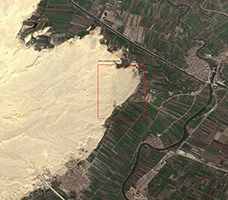
QuickBird satellite image of Gurob and its region (boxes added by D. Davis; includes copyrighted material of DigitalGlobe, Inc.; p.172)

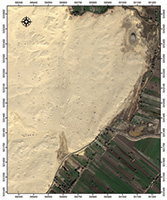
QuickBird satellite image of the site of Gurob; courtesy DigitalGlobe (p.173)
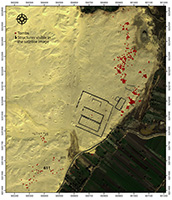
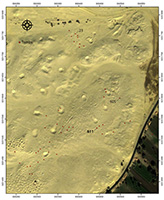
QuickBird satellite image of the site of Gurob with structures (in black outline) and tombs (red dots) superimposed on a UTM grid with 100m spacing (WGS 1984). The structure outlines have been traced over features visible in the satellite image and conform to the excavation plans (see plans above). As the tombs were not visible in the satellite image, they were georeferenced from the plans using ESRI's ArcGIS 9.2. The structures and scale of Petrie's plans were used as baselines. Note Tomb 611 at the lower left (Tomb 24 has not been located and seems not present on Brunton's plan). Overlays prepared by D. Davis; includes copyrighted material of DigitalGlobe, Inc. (p.174)

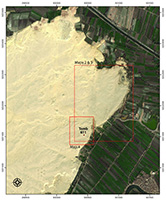
QuickBird satellite image of the area of Tomb 611, with overlays prepared by D. Davis
includes copyrighted material of DigitalGlobe, Inc. (p.175)

Full QuickBird satellite image of the area of Gurob; the red box marks the detailed areas shown in the previous few satellite images.

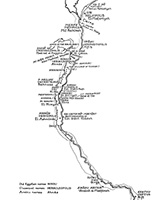
Map of settlements with temples holding land recorded in the Wilbur Papyrus, Text A (A. Gardiner, 1948. The Wilbour Papyrus, vol. 2, Commentary; London: Brooklyn Museum at the Oxford University Press. Map 1, opposite p. 54); (p.176)

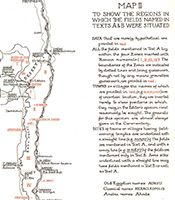
Map of regions with lands recorded in the Wilbour Papyrus, Texts A and B (A. Gardiner, 1948. The Wilbour Papyrus, vol. 2, Commentary; London: Brooklyn Museum at the Oxford University Press. Map 2, opposite p. 55); (p.177)

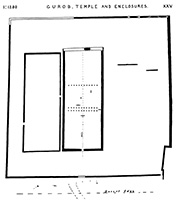
Petrie's plan of the structures that he identified as a temple and an enclosure (NTS; Petrie, W. M. F. 1891. Il Lahun, Kahun and Gurob 1889-1890. London: David Nutt. pl. XXV); (p.179)


_wheel-pigment_TH.jpg)
_hull-pigment_TH.jpg)
%20(Color)_red-ochre_TH.jpg)
(Color)_red-ochre_TH.jpg)
(Color)_black-paint_TH.jpg)
(Color)_blue-paint_TH.jpg)
(Color)_yellow-paint_TH.jpg)
(Color)_yellow-paint_TH.jpg)
